
Enter the Container Store. They have a large acrylic tray for $10 and I decided it could be dressed up a little with a lilly print. I used the May Print from the 2012 calender, but you could also use the prints from their blog, the month pages of the agenda, or anything else Lilly you may have. If you are more tech savvy than me you can blow up a print to your desired size. I would suggest using something with not too much detail because the more abstract it is the less your mistakes show.

I used double stick tape to keep the pattern in place after I cut it to size.

 |
| Add caption |

I decided to do the thinner lines first because I figured they would be harder to paint and to fix if I made a mistake. When I made a mistake, I used a Q-tip to clean it up. Make sure you have enough paint on your brushes when you are painting otherwise the paint won't show through the bottom.


Details of pink lines. It took me about a hour to outline them.

Then I did the green. I kept the M since it is my initial and it saved me from having to free hand.

After I filled in the purple I realized that it was splotchy and didn't look that great when I turned the tray over. So I decided to do a second coat. I waited a couple hours after that coat and applied the satin finish with a sponge brush. Make sure you do this so the paint won't chip. I was worried about applying the finish where there wasn't a design but luckily it didn't make the acrylic look foggy.

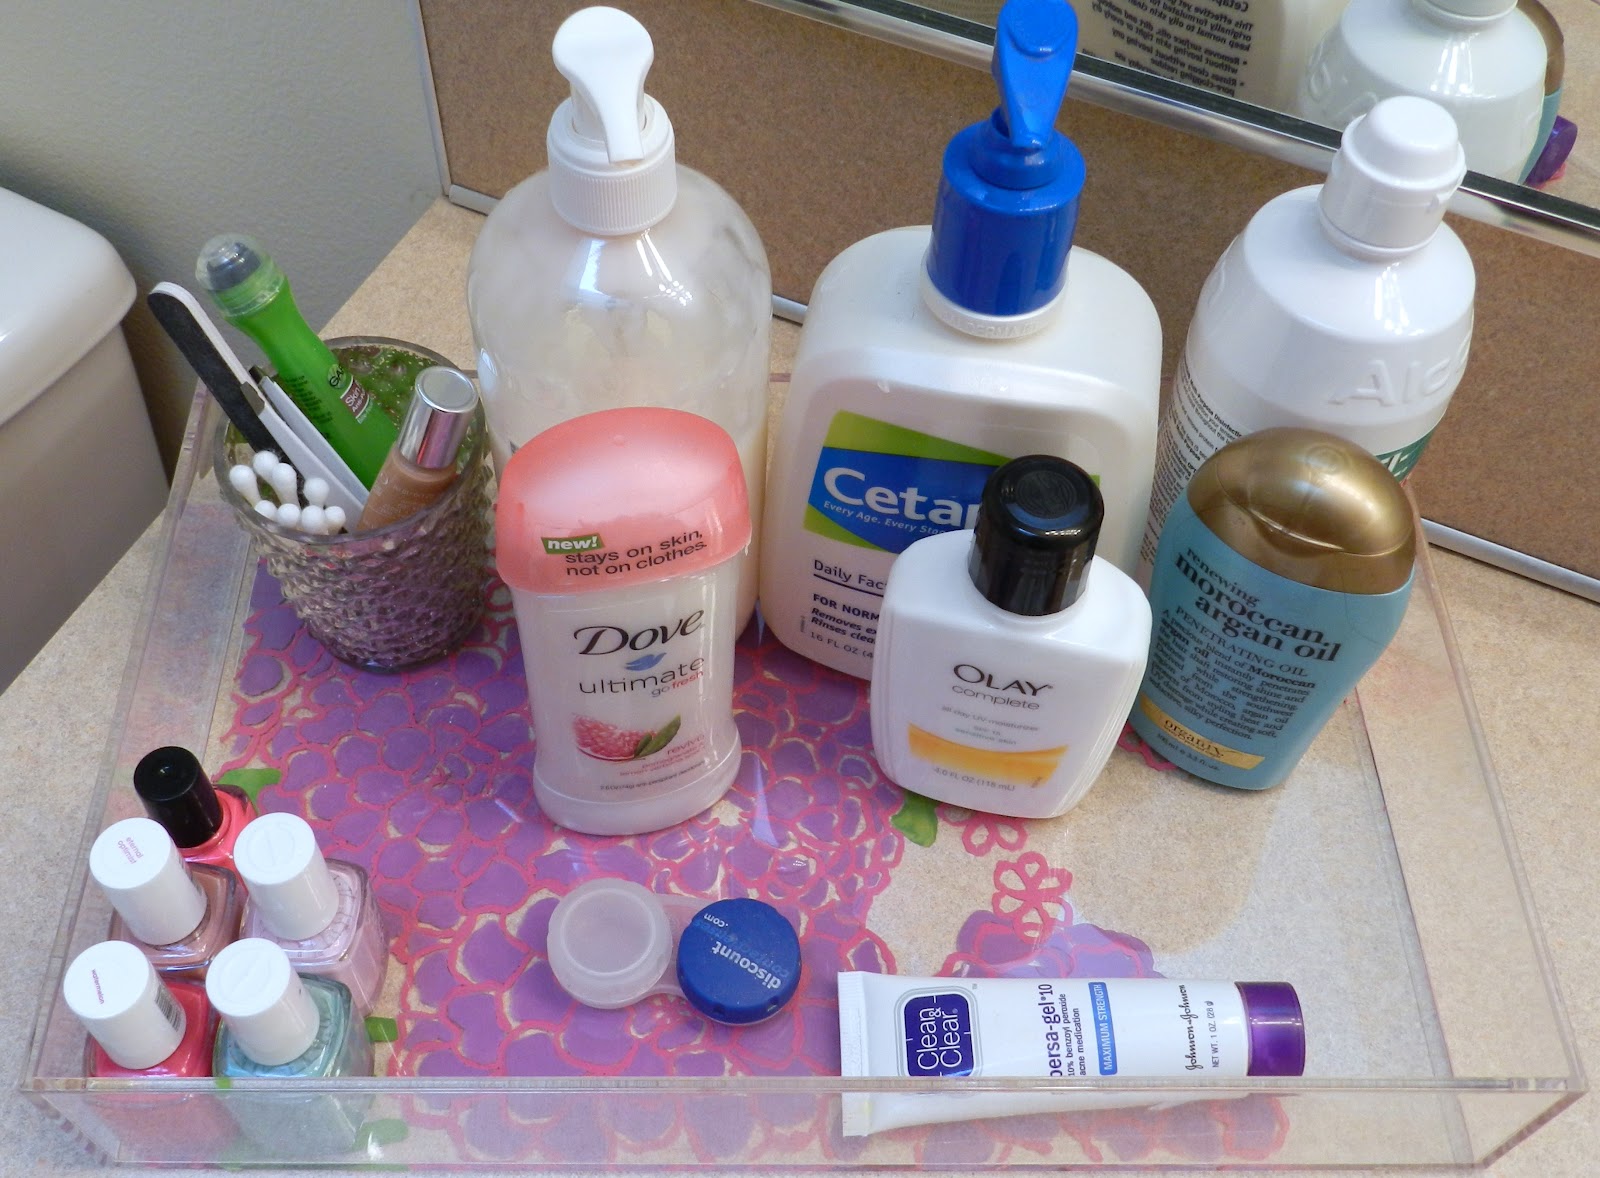
Some of my most used products: Crabtree and Evelyn Lotion, essie nail polish, cetaphil face wash, garnier eye serum, Organix Moroccan Oil (which works just as well as the expensive stuff)

Peace and Harmony has been restored to the bathroom and it keeps it much neater.
I estimate the whole project cost me $20 which is much cheaper than my other choices and I got exactly what I wanted.
No comments:
Post a Comment
Thank-you for your sweet comments! I love hearing from you!